
Everything you need to know about hiking and camping gear as a beginner — organized by priority, honest about budget, and built around the gear that actually makes a difference.
Key Takeaways
- You don’t need to spend thousands to start hiking or camping — a solid beginner kit for day hiking costs $100–200 if you’re strategic about what you buy first
- Footwear is the highest-priority purchase for new hikers — the right shoes make every hike more comfortable; the wrong ones create blisters and end hikes early
- The classic Ten Essentials framework (developed in the 1930s and still used today) provides the best structure for thinking about what gear you actually need
- Borrow or rent before you buy for high-cost items like tents and sleeping bags — most first-timers don’t know their preferences until after their first few trips
- The single most impactful gear improvement most beginners can make: a headlamp — it costs $25–45 and completely changes your safety margin on any hike that runs long
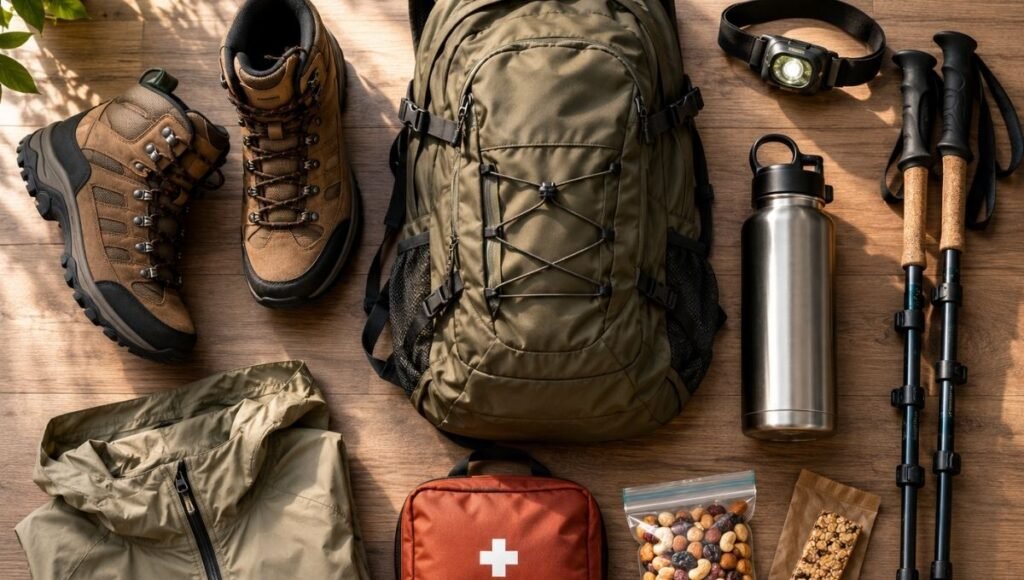
Every new hiker eventually faces the same overwhelming moment: they decide to try hiking or camping, they search for “what gear do I need,” and they’re immediately confronted with a wall of product recommendations, technical specifications, and price tags that range from $15 to $800 for what appears to be the same item.
This guide is the antidote to that overwhelm. It’s organized around one central principle: start with what matters most, add everything else over time. You don’t need a complete outdoor kit before your first hike. You need a few key items, the knowledge to use them, and a clear sense of what to add next as your outdoor experience grows.
What follows is the complete gear reference for TrailNexo — covering every category of hiking and camping equipment, organized by priority, with honest budget guidance and links to our detailed guides for each item category.
How to Think About Beginner Outdoor Gear: The Priority Framework
Before getting into specific gear, the most useful thing to understand is how to think about gear purchases. Not all equipment is equally important, and buying in the wrong order is a common beginner mistake.
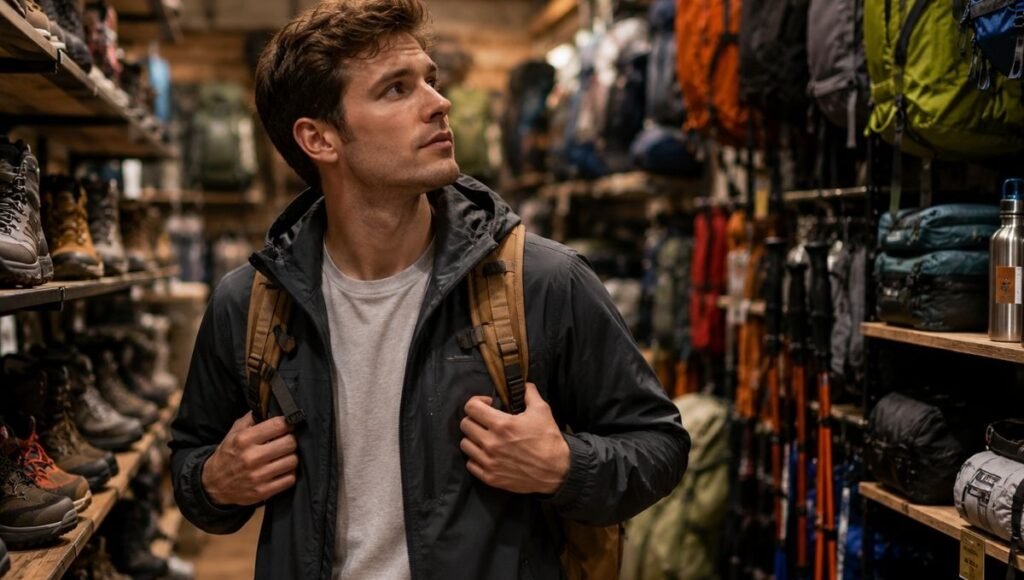
Priority 1: Safety-Critical Gear
These items directly affect your safety on the trail. They’re non-negotiable for any hike longer than a short, well-trafficked loop near your car.
- Water (the right vessel matters — more below)
- Headlamp (even on day hikes — hikes take longer than expected)
- Navigation (downloaded offline maps on your phone, at minimum)
- First aid kit (blisters are the most common trail injury; be prepared)
- Emergency layer (weather changes; always pack one more layer than you think you need)
Priority 2: Comfort-Critical Gear
These items significantly affect how much you enjoy your outdoor experience. Not strictly safety-critical, but the difference between a great hike and a miserable one.
- Footwear (blisters from wrong shoes end hikes early)
- Backpack (poor fit causes shoulder and back pain over distance)
- Hiking poles (for any trail with significant elevation change)
Priority 3: Nice-to-Have Gear
These items enhance your experience but aren’t necessary for most beginner outings.
- Trekking gaiters
- Satellite communicator
- Specialty clothing
- Advanced navigation tools
The practical rule: Build Priority 1 and Priority 2 first. Add Priority 3 as your experience and commitment to outdoor activities grows.
The Ten Essentials: The Framework Behind Every Hiking Gear List
The Ten Essentials is a gear framework first developed by The Mountaineers in the 1930s and still referenced by outdoor organizations worldwide — including the National Park Service and REI. It’s not a shopping list; it’s a way of thinking about what categories of problems can arise on a hike and making sure you have something in each category.
The Ten Essential Categories:
- Navigation — Map, compass, downloaded offline trail map, GPS
- Sun protection — Sunscreen, sunglasses, sun hat
- Insulation — Extra layers beyond what you’re wearing
- Illumination — Headlamp with fresh batteries
- First aid — Kit covering blisters, cuts, pain relief, allergic reactions
- Fire — Lighter or matches (for emergency warmth)
- Repair tools — Multi-tool or knife
- Nutrition — Extra food beyond what you plan to eat
- Hydration — Water and backup purification
- Emergency shelter — Emergency blanket at minimum
For most beginner day hikes on established trails, you won’t need all of these at full capacity. But understanding the categories helps you make informed decisions about what’s actually in your pack — and why.
Hiking Gear Guide: The Essential Items for Day Hiking
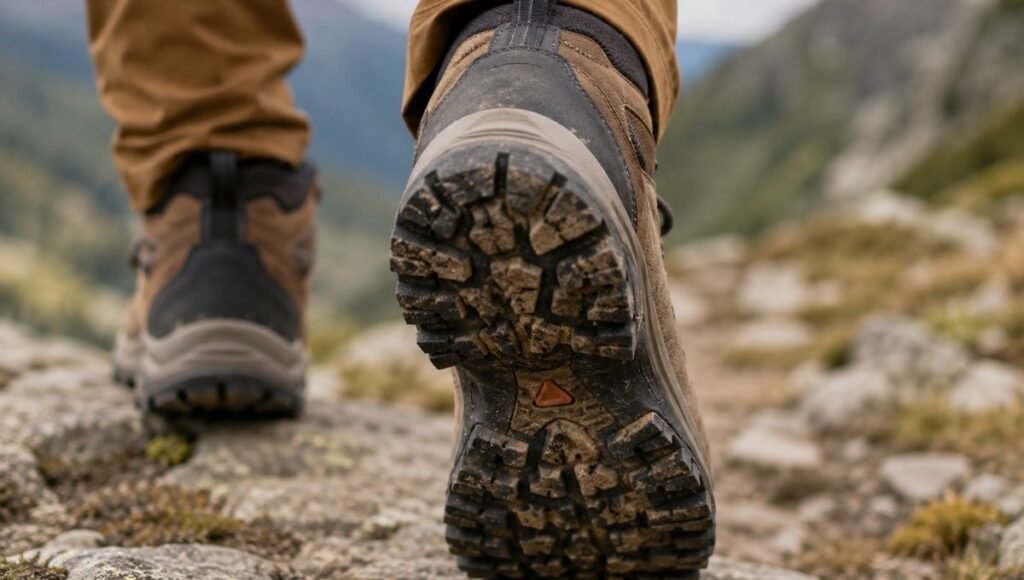
Hiking Footwear: The Most Important Purchase
Your feet carry you through every hike. Footwear is where the difference between the right gear and the wrong gear is most immediately felt — and where beginners most commonly underinvest.
The key decision: hiking boots vs. hiking shoes vs. trail running shoes
- Hiking boots (ankle-height, structured support): Best for rough, rocky terrain, wet conditions, or heavy packs. More break-in time required.
- Hiking shoes (low-cut, flexible): Good for well-maintained trails in dry conditions. Lighter and faster to break in than boots.
- Trail running shoes: Increasingly popular for day hiking on established trails. Lightweight, breathable, and work well if you prefer a nimble feel over rigid support.
For most beginner hikers: A mid-cut hiking shoe or trail runner handles the vast majority of day hiking scenarios on established trails. Full boots are worth the investment when you’re regularly on rough terrain or doing longer trips with heavy packs.
What to look for regardless of style:
- Waterproof or water-resistant treatment (Gore-Tex or similar for wet climates)
- Grippy outsole (Vibram is a quality standard)
- Proper fit with your hiking socks on — toes should have room at the front without sliding around
Budget range: $80–150 for a solid beginner option. Spending more gets you better materials and durability; spending less often means compromising on fit and support quality.
→ Read our complete guide: Hiking Boots for Beginners: How to Choose Without Wasting Money
Hiking Backpack: How to Choose the Right Size
Your pack needs to fit your body and match your hike length. The two most common beginner mistakes are buying too large (then overpacking to fill it) or too small (then leaving essentials behind).
Size guide by hike type:
- Short day hikes (1–3 hours): 10–15 liters. Just water, snacks, and a layer.
- Half-day hikes (3–5 hours): 15–25 liters. Add lunch, first aid, sun protection.
- Full-day hikes (5+ hours): 25–35 liters. Full day’s food, extra layers, full Ten Essentials kit.
- Overnight camping: 40–65 liters. Tent, sleeping system, all clothing and food.
Key features to evaluate:
- Hip belt (essential for packs over 20 liters — transfers weight from shoulders to hips)
- Adjustable torso length (pack should fit your back, not a generic “medium”)
- Accessible side pockets (for water bottles you’ll grab while walking)
- Hydration sleeve (for bladder compatibility if you prefer that system)
The fit matters more than the brand: A $60 pack that fits your torso correctly is more comfortable than a $200 pack that doesn’t. Try before you buy if possible, or buy from a retailer with a good return policy.
Budget range: $60–120 for a solid beginner daypack. The lightweight backpack category specifically is worth exploring for hikers who want to minimize carry weight.
→ Read our complete guide: Best Lightweight Hiking Backpack for Beginners
Headlamp: The Most Underestimated Piece of Gear
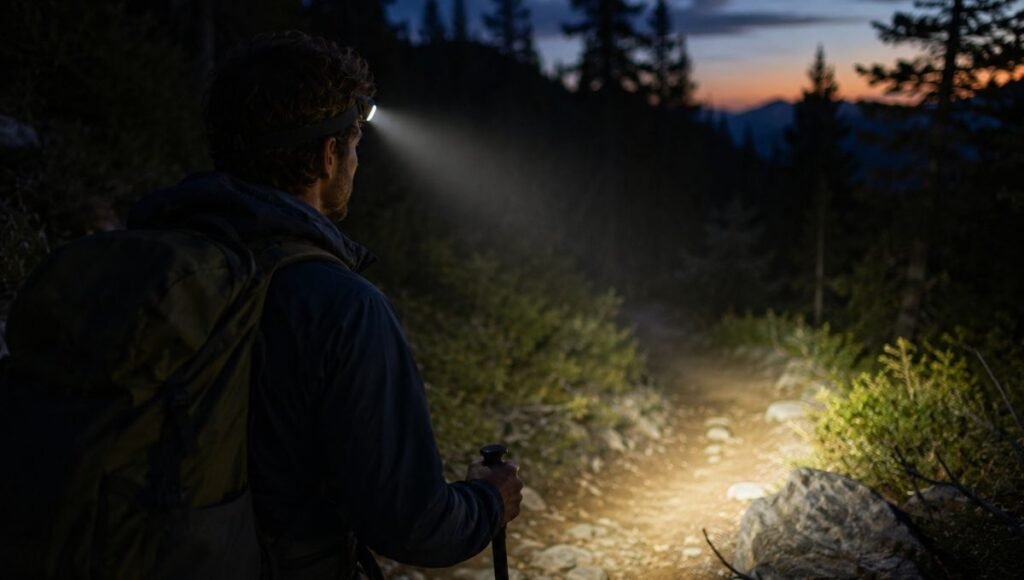
Almost every gear guide mentions this, and almost every first-time hiker shows up without one. A headlamp is not optional gear — it’s safety equipment.
Hikes regularly take longer than planned. Terrain is slower than expected, rest breaks extend, the summit view keeps you longer than you intended. Starting back at 4pm with a 3-hour hike ahead and no light source is a real problem. A headlamp adds almost nothing to your pack weight and gives you a complete safety buffer.
What to look for:
- 200–300 lumens minimum for trail navigation (lower is fine for camp tasks)
- Red light mode — essential for not ruining your night vision around camp and not blinding your hiking partners
- Lock mode — prevents accidental activation in your pack (critical — without this, you’ll discover a dead headlamp at the worst moment)
- Rechargeable or battery-powered: Rechargeable is more convenient for regular use; battery-powered is more reliable as a backup in cold weather
Budget range: $25–45 covers everything most beginner hikers need. The Black Diamond Spot ($35–45) is the most consistently recommended option across hiking communities.
→ Read our complete guide: Best Headlamp for Hiking and Camping: Honest Beginner Picks
Hiking Poles: Do You Actually Need Them?
The honest answer: it depends on your terrain and your knees.
Poles are worth it for:
- Hikes with significant elevation change (especially descents)
- Hikers with any history of knee concerns
- Longer hikes where stability fatigue sets in
- Wet, slippery, or rocky terrain
Poles are not necessary for:
- Flat, well-maintained trails under 5 miles
- Technical scrambling (where you need your hands free)
Research published in the Journal of Strength and Conditioning Research confirms that poles reduce compressive forces on knee joints during loaded downhill hiking. For most beginners encountering their first real descents, the effect is immediately noticeable.
Key features: Lever-lock mechanism (not twist-lock, which loosens over time), aluminum shaft for beginners (more durable than carbon fiber when dropped), adjustable length to set at the correct 90° elbow angle.
Budget range: $35–70 for a solid aluminum beginner set. The Black Diamond Trail poles ($55–70) are the category standard.
→ Read our complete guide: Best Hiking Poles for Beginners: Do You Actually Need Them?
Hiking Water Bottle: How Much to Carry and What to Carry It In
Water is simultaneously the most critical and most commonly underpacked item in beginner hiking kits. The calculation is simple: 0.5 liters per hour of hiking, plus a buffer. A 4-hour hike requires a minimum of 2.5 liters.
Water bottle vs. hydration bladder:
- Water bottles: Simpler, easier to monitor, easier to clean. Best for most day hiking scenarios.
- Hydration bladders: Hands-free sipping; better for longer hikes where stopping feels disruptive. More maintenance (cleaning the tube prevents mold).
For most beginners: start with two 1-liter water bottles. Simple, functional, and gives you clear visibility of your remaining water.
Material considerations: BPA-free hard plastic (Nalgene, Tritan) or stainless steel are the safest options. Nalgene 32oz wide mouth ($12–16) remains the most recommended beginner option — nearly indestructible, BPA-free, compatible with most water filters, and costs less than most trail snacks for a full day.
Budget range: $12–50 depending on whether you want insulated (stainless steel) or standard plastic. Insulation is worth it in hot climates; standard plastic is fine for most conditions.
→ Read our complete guide: Best Hiking Water Bottle for Beginners
Camping Gear Guide: Essential Items for Your First Overnight
Camping gear adds several high-cost categories to the beginner kit. The key principle here: borrow or rent before you buy for the big-ticket items.
Shelter: Your Tent
A tent is the single most significant gear purchase for new campers. It’s also the item most people have the least experience evaluating.
Key decisions:
- Capacity: Tent ratings are optimistic — a “2-person” tent is snug for two adults. Size up for comfort.
- Season rating: 3-season tents (spring through fall) cover most beginner camping scenarios. 4-season tents are for winter conditions.
- Freestanding vs. non-freestanding: Freestanding tents stand on their own without stakes (easier to set up and reposition). Start with freestanding.
- Weight: For car camping, weight is irrelevant. For hiking to campsites, aim under 4 lbs for a 2-person tent.
Budget range: $80–200 for a functional beginner 3-season tent. Avoid the cheapest options — seams, zippers, and waterproofing on sub-$60 tents often fail in real conditions.
Crucial tip: Set up your tent at home before your first trip. Figuring out the poles in the dark at a campsite is an avoidable first-camping experience.
→ Read our complete guide: How to Set Up a Tent for the First Time
Sleep System: Sleeping Bag and Sleeping Pad
Sleeping bag temperature ratings confuse almost every new camper. The key facts:
- Temperature ratings indicate the lowest temperature at which the bag keeps you warm
- Buy a bag rated 10–15°F colder than the lowest temperature you expect (your personal warmth preference and real conditions vary from lab testing)
- For most beginner 3-season camping: a 20°F or 30°F bag covers most scenarios
Sleeping pad: This is the item most beginners skip, and it’s a significant mistake. Your sleeping bag insulates you from cold air; your sleeping pad insulates you from the ground — which conducts heat away from your body far more aggressively than air. A good sleeping bag on bare ground still produces an uncomfortable, cold night.
R-value (insulation rating) for sleeping pads: aim for 2.0+ for three-season camping, higher for cold weather.
→ Read our complete guide: Sleeping Bag Temperature Ratings Explained for Beginners
First Aid: The Kit You Hope You Never Need
A first aid kit for hiking and camping covers a different set of scenarios than a home medicine cabinet. The most common trail injuries are blisters, cuts and scrapes, sprains, and sun or heat-related issues.
Minimum viable hiking first aid kit:
- Moleskin or blister pads (the single most-used item)
- Adhesive bandages (multiple sizes)
- Medical tape and gauze
- Antibiotic ointment
- Ibuprofen and acetaminophen
- Antihistamine (Benadryl or generic)
- Nitrile gloves
- Emergency blanket
Pre-made kits in the $25–50 range (Adventure Medical Kits, MyMedic) handle most day hiking scenarios and are easier than assembling from scratch. Add antihistamines if they’re not included — they’re the most commonly missing item in pre-made kits.
→ Read our complete guide: Hiking First Aid Kit: What to Pack and How to Use It
Hiking Gear Checklist: The Quick-Reference Version
For a Short Day Hike (Under 3 Hours)
Must-have:
- Water (1L minimum)
- Snacks (200–400 calories)
- Charged phone with offline trail map
- Headlamp (even for short hikes)
- Sun protection (sunscreen, sunglasses)
- Extra layer
- Blister pads
Nice to have:
- Trekking poles
- Small first aid kit
- Insect repellent
For a Half to Full Day Hike (3–8 Hours)
Everything above, plus:
- More water (0.5L per hour)
- Proper lunch and multiple snacks
- Rain jacket
- Complete first aid kit
- Emergency blanket
- Navigation backup (downloaded offline map)
For Car Camping (First Trip)
Everything in the full-day hiking list, plus:
- Tent (practiced setup at home)
- Sleeping bag (20–30°F for three-season)
- Sleeping pad (R-value 2.0+)
- Camp stove and fuel
- Cookware and utensils
- Cooler with food and ice
- Headlamp (one per person)
- Toilet paper and hand sanitizer
- Trash bags
→ Read our complete guide: The Complete Camping Packing List for Beginners
How Much Does Beginner Outdoor Gear Cost? Budget Reality Check
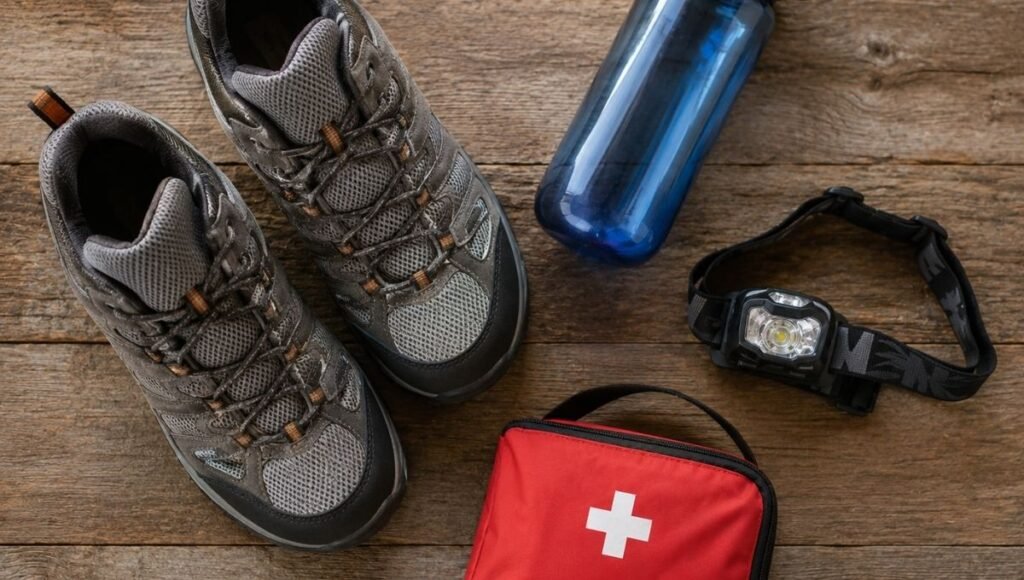
One of the most common concerns for new hikers and campers is cost. Here’s an honest breakdown of what a solid beginner kit actually costs — and where to prioritize spending.
Minimum Viable Day Hiking Kit (~$80–130)
| Item | Budget Option | Cost |
|---|---|---|
| Hiking shoes/trail runners | Sale or entry-level brand | $60–80 |
| Water bottle (Nalgene) | Standard Nalgene 32oz | $12–16 |
| Headlamp | Budget option with red light + lock | $20–30 |
| Basic first aid | Pre-made kit | $15–25 |
| Total | $107–151 |
Snacks, sunscreen, and an extra layer from your existing wardrobe complete the kit.
Complete Day Hiking Kit (~$200–350)
Adds: quality daypack ($60–100), trekking poles ($35–70), and upgraded headlamp or water system.
Beginner Car Camping Setup (~$300–500 total, including day hiking items)
Adds: tent ($80–150), sleeping bag ($60–120), sleeping pad ($30–60), basic camp cookware ($30–50).
Where to save money:
- Borrow tent and sleeping bag for your first 1–2 trips before buying
- Buy footwear and headlamp new (these are safety items where quality matters)
- REI outlet and gear swap sections offer significant discounts on previous-season gear
- Used gear in good condition from REI Used or local outdoor swap events
What NOT to Buy First: The Gear Traps Beginners Fall Into
Over-specced technical gear: A beginner doing 5-mile day hikes doesn’t need the same tent, boots, or pack as a backpacker doing a 3-week thru-hike. Match your gear to your actual current activity level, not your aspirational one.
Fashion-forward “outdoor” clothing from non-outdoor brands: Looks the part, doesn’t perform. The key performance features in hiking clothing (moisture-wicking, quick-dry, sun protection) require specific technical fabrics that most fashion brands don’t use.
The cheapest possible version of safety gear: There’s a place for budget gear and a place where quality matters. Headlamps with unreliable lock modes, first aid kits missing key items, and water bottles with questionable materials are false economies. Spend appropriately on the things that directly affect your safety.
Everything at once before your first trip: Buy what you need for your first hike. Add gear over time based on actual experience. Most gear “needs” that beginners imagine before their first trip turn out to matter less than expected — or differently than expected — once they’ve actually been on trail.
The Gear That Makes the Biggest Difference for Beginners
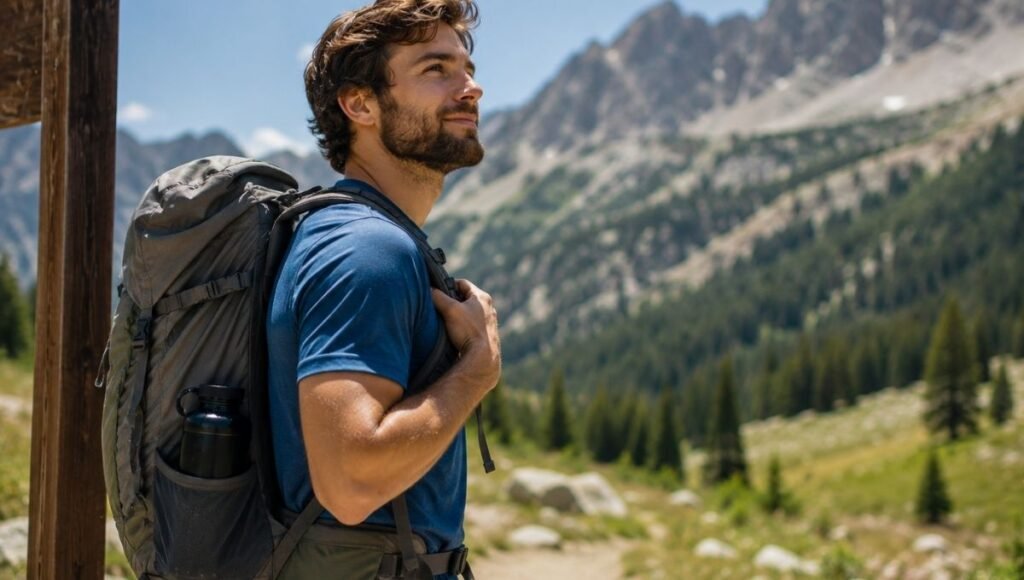
If you could only upgrade one thing about your current outdoor kit, what would have the highest impact? Here’s the ranking based on actual beginner experience:
1. Footwear (if currently hiking in inappropriate shoes) Nothing else transforms the hiking experience as dramatically as proper footwear. Bad shoes = blisters = the hike ends early or becomes a misery. Good shoes = you’re thinking about the scenery instead of your feet.
2. A headlamp (if you don’t own one) Small, cheap, and completely changes your safety margin on any hike that runs late.
3. Hiking poles (if you’re doing hikes with elevation change) The difference on a long descent is immediately and significantly felt. One hike with poles on serious downhill terrain typically converts beginners permanently.
4. A properly-sized backpack (if currently using an ill-fitting bag) Shoulder pain from a poorly fitting pack compounds dramatically over distance. A pack that fits correctly is comfortable in a way that makes you want to hike longer.
FAQ: Real Questions About Beginner Outdoor Gear
Q: What gear do I actually need for my first hike? Water (more than you think), a headlamp, proper footwear, an extra layer, sun protection, some snacks, and a downloaded offline trail map on your phone. That covers the first hike for most beginner scenarios on established, well-trafficked trails.
Q: How much does it cost to start hiking? Minimum viable setup: $80–130, primarily for footwear and a headlamp. Everything else can be borrowed, improvised from existing gear, or added over time.
Q: Should I buy or borrow gear as a beginner? Borrow for high-cost items you’re not sure you’ll use regularly — tents, sleeping bags, sleeping pads. Buy footwear and safety gear (headlamp, first aid) new, as these directly affect comfort and safety.
Q: What’s the most important piece of hiking gear? Footwear for comfort; water for safety. If forced to choose one: water. Dehydration is the most common and preventable trail problem, and having enough water is more important than any gear category.
Q: Do beginners need trekking poles? Not always. For flat, easy trails under 5 miles: probably not. For any hike with significant elevation change, or if you have knee concerns: they make a genuine difference and are worth the $35–70 investment.
Your Next Step: Dive Into the Detail
Each gear category has its own dedicated guide with specific product recommendations, honest budget breakdowns, and beginner-specific advice. Start with whichever category feels most urgent for your next outdoor adventure.
Explore All Gear Guides
- Hiking Boots for Beginners: How to Choose Without Wasting Money
- Best Lightweight Hiking Backpack for Beginners
- Best Headlamp for Hiking and Camping
- Best Hiking Poles for Beginners: Do You Actually Need Them?
- Best Hiking Water Bottle for Beginners
Connect to the Full TrailNexo Library
- Hiking for Beginners: The Complete Guide
- Camping for Beginners: The Complete Guide
- Outdoor Safety for Beginners
- The Complete Hiking Packing List
- The Complete Camping Packing List
References
- The Mountaineers. Ten Essentials for Outdoor Safety — Original Framework and Modern Update. mountaineers.org
- REI Co-op. Day Hiking Checklist — Expert Advice. rei.com/learn/expert-advice/day-hiking-checklist.html
- National Park Service. Hiking Preparation and Essential Gear. nps.gov
- Bohne M, Abendroth-Smith J. (2007). Effects of hiking downhill using trekking poles while carrying external loads. Journal of Strength and Conditioning Research, 21(4), 1312–1316.
- American Hiking Society. Gear Up for Safe Hiking. americanhiking.org