
Everything first-time hikers need to know about staying hydrated on the trail — from how much water you actually need to the honest difference between bottles and bladders.
Key Takeaways
- The CDC recommends drinking 0.5 liters (about 17oz) per hour of moderate physical activity — for a 4-hour hike, that’s at least 2 liters minimum, and more in heat
- Water bottles win for day hiking due to simplicity, easy refilling, and no maintenance headaches; hydration bladders win for long hikes where hands-free sipping matters
- For most beginners, a 1-liter or 32oz wide-mouth bottle is the most practical starting point — easy to fill from water sources, compatible with most filters, and visible so you track how much you’re drinking
- BPA-free hard plastic (like Nalgene) or stainless steel are the safest, most durable materials for hiking water bottles
- The most common beginner mistake isn’t choosing the wrong bottle — it’s not bringing enough water. Always pack more than you think you need
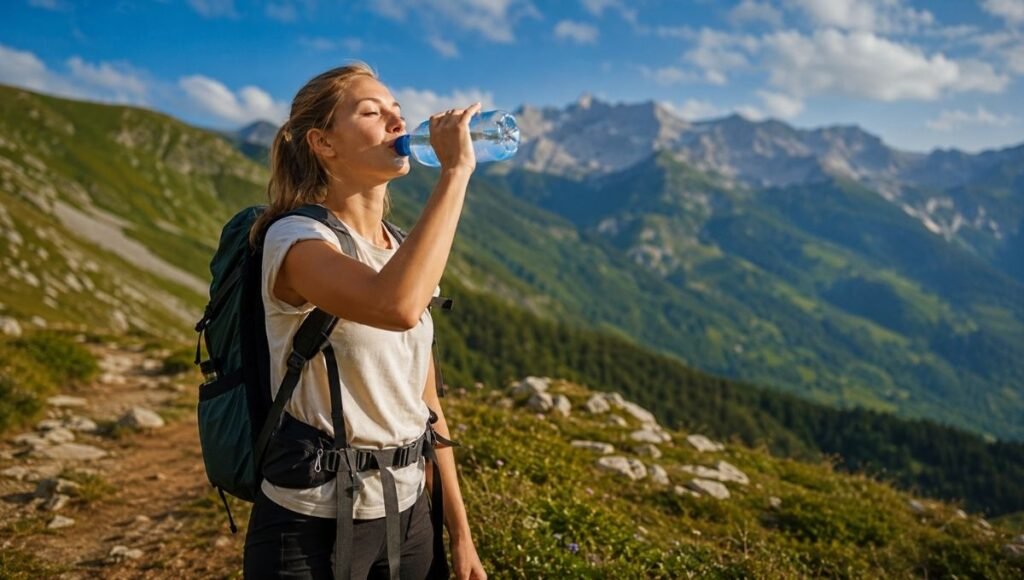
Picture this: you’re halfway through your first real hike, the trail is beautiful, and you reach for your water bottle — and it’s almost empty. You’ve got two miles back to the car, it’s warmer than expected, and you’re suddenly very focused on whether you’re going to make it comfortably. You thought one bottle would be plenty. It wasn’t.
Hydration is the thing most beginners underplan for. Not because they don’t know water matters, but because they underestimate how much the body actually needs when you’re moving uphill, sweating, and breathing harder than usual. The good news is that fixing this is simple: understand the numbers, choose the right vessel, and bring more than you think you need.
This guide covers everything: how much water to actually bring on a hike, the honest comparison between water bottles and hydration bladders, which materials are safe, and the best hiking water bottle options for beginners at different price points. No ultralight obsession, no backpacker jargon — just practical advice for people who want to stay hydrated and enjoy their hike.
How Much Water Do You Actually Need for Hiking?
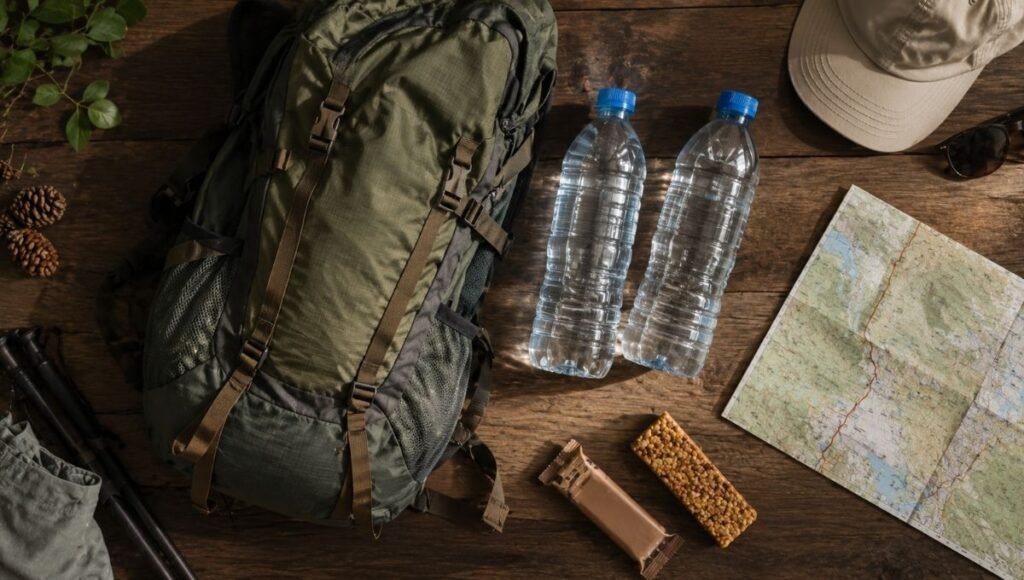
Before thinking about what to carry water in, let’s establish how much you need. This is the question most beginners get wrong, and it’s the one that matters most.
The CDC’s physical activity hydration guidelines recommend approximately 0.5 liters (about 17 ounces) of water per hour of moderate physical activity for an average adult. Hiking is moderate-to-vigorous activity, which means:
- 2-hour hike: Minimum 1 liter (32oz)
- 4-hour hike: Minimum 2 liters (68oz)
- 6-hour hike: Minimum 3 liters (102oz)
And those are minimums under comfortable conditions. Add heat, direct sun exposure, high altitude, or carrying a heavy pack, and your needs increase by 25–50%.
The practical rule most experienced hikers use: plan for 0.5 liters per hour and then add one extra liter as a buffer. If you think you’ll be out for 3 hours, bring 2.5 liters. If conditions are hot or the terrain is harder than expected, you’ll be grateful for the extra.
A research review published in the Journal of Athletic Training confirmed that even mild dehydration — just 1–2% of body weight in fluid loss — measurably impairs physical performance and cognitive function. On a trail where you need to navigate and stay aware of your footing, even mild dehydration is more than an inconvenience.
Editor’s note: “But I don’t feel thirsty” is not a reliable indicator. Thirst is a lagging signal — by the time you feel it, you’re already mildly dehydrated. Drink on a schedule, not on demand.
Water Bottle vs Hydration Bladder: Which Is Better for Beginners?
This is the question that comes up in every beginner hiking discussion, and the honest answer is: both work, but they’re suited to different situations.
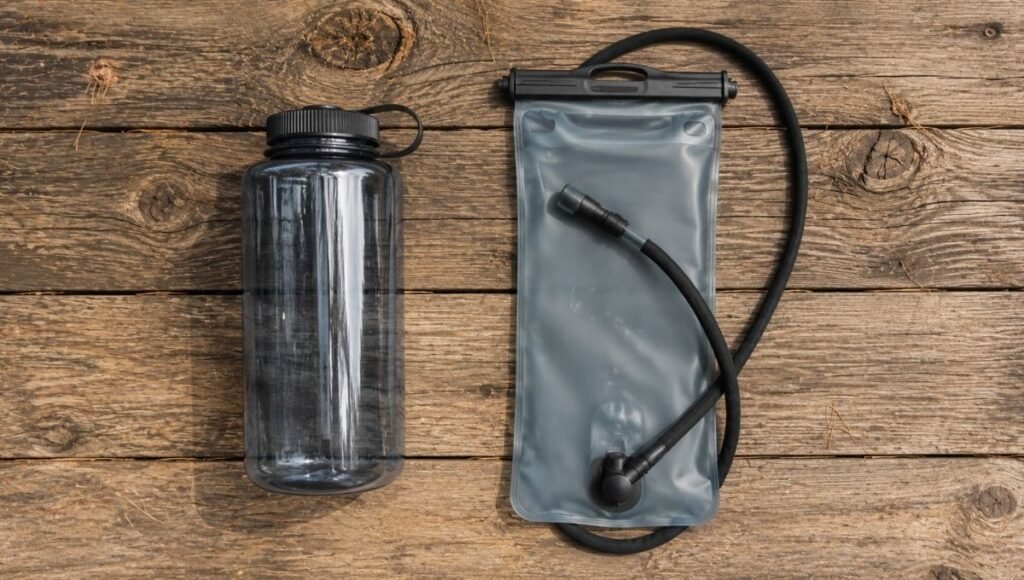
What Is a Hydration Bladder?
A hydration bladder (also called a hydration reservoir or Camelbak-style system) is a flexible plastic pouch that sits inside your backpack and connects to a drinking tube that runs over your shoulder. You sip from a bite valve without stopping or removing your pack.
Water Bottle: Pros and Cons for Hiking
Pros:
- You can see exactly how much water you have left at a glance
- Easy to fill from streams, spigots, or water filters — no unpacking required
- Simple to clean — just open, wash, dry
- No risk of leaks soaking your gear
- Works fine with one hand; easy to grab from a side pocket while walking
- Cheaper and more durable long-term
Cons:
- You have to stop and reach for the bottle to drink (most beginners don’t notice this as a problem until longer hikes)
- On very long hikes or technical terrain, stopping to drink frequently adds up
Hydration Bladder: Pros and Cons for Hiking
Pros:
- Hands-free sipping encourages more frequent hydration — you’re more likely to drink regularly when it’s this easy
- Better for situations where stopping frequently isn’t practical (longer distances, technical terrain)
- Can carry more water (2–3 liters) in the same pack volume as smaller bottles
Cons:
- Hard to monitor how much water remains without checking inside the pack
- Refilling on the trail often means unpacking everything to reach the bladder
- Leaks — it happens, and when it does, wet gear is miserable
- Harder to clean than a bottle; requires a special brush and complete drying to prevent mold
- More expensive upfront; needs replacement over time
The Verdict for Beginners
Start with water bottles. For day hikes under 6 hours on established trails, two 1-liter water bottles cover the vast majority of beginner scenarios. They’re simpler, cheaper, easier to monitor, easier to clean, and require zero learning curve.
Consider a hydration bladder when: you’re regularly hiking 5+ hours, you find yourself not drinking enough because stopping feels like an interruption, or you’re moving into longer trail adventures where pack integration matters.
Many experienced hikers use both — a bladder for the bulk of their water and a small bottle for quick access, electrolyte drinks, or water filter compatibility.
What Makes a Good Hiking Water Bottle?
Now that you know water bottles are the right starting point for most beginners, here’s what actually matters when choosing one.
Capacity: What Size Do You Need?
500ml (17oz): Too small for most hikes — fine as a secondary bottle for electrolyte drinks but not sufficient as a primary water source.
750ml (25oz): Workable for short hikes in mild conditions, but you’ll find yourself rationing on anything over 2 hours.
1 liter (32–34oz): The best single-bottle size for most day hikes. Easy to fit in a backpack side pocket, compatible with most water filters, and gives you enough for a moderate hike while keeping weight manageable. This is the recommendation for most beginners.
1.5–2 liters (50–68oz): More capacity than most single-bottle side pockets can accommodate, but useful if you carry two separate bottles. Many experienced day hikers carry two 1-liter bottles as their system.
Wide Mouth vs Narrow Mouth
Wide mouth (roughly 63mm opening):
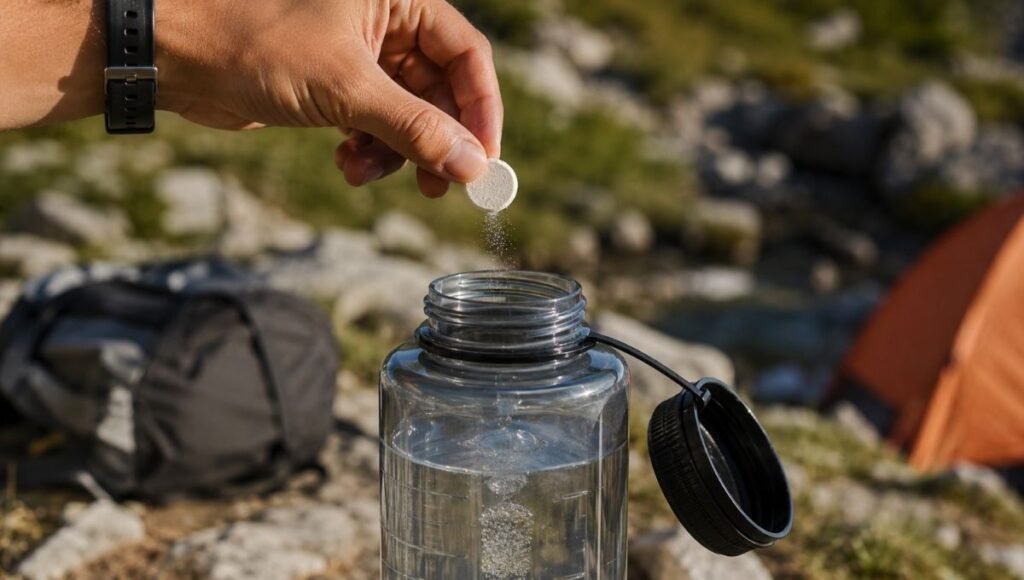
- Easier to add ice, electrolyte tablets, or powder
- Easier to clean thoroughly
- Can be used as a makeshift bowl or cup in a pinch
- Slightly more awkward to drink from while walking
Narrow mouth (roughly 38–44mm opening):
- Easier to drink from while moving without spilling
- Often fits more securely in side pockets
For beginners: Wide mouth is the more versatile choice and the format most water filters attach to. Start with wide mouth.
Material: What’s Actually Safe?
This is where most beginners get confused by marketing language. Here’s the plain-language breakdown:
BPA-free hard plastic (HDPE or Tritan): BPA (bisphenol A) is a chemical used in some plastics that has been linked to hormonal disruption. Most reputable brands now use BPA-free materials. Nalgene’s classic bottles use Tritan copolyester, which is BPA-free and one of the most tested plastics for food contact safety.
Look for “BPA-free” on the label. This is now standard on any reputable hiking bottle.
Stainless steel: No plastic, no leaching concerns, durable enough to last years of hard use. The trade-off: heavier than plastic, and if insulated (double-wall), significantly heavier. Good choice if you want hot or cold drinks, or if you prefer to avoid plastic entirely.
Soft/collapsible plastic (LDPE or TPU): Lightweight and packable — squeezes flat when empty, which saves pack space. Compatible with most water filters. Less durable than hard plastic; degrades faster with heavy use. Good secondary bottle or filter companion.
Single-use plastic bottles (PET1): Technically works, but breaks down faster than other options, leaches microplastics over time, and isn’t designed for repeated use. Not recommended as a hiking bottle.
Side Pocket Accessibility
This sounds minor and turns out to matter enormously. A water bottle you have to take off your pack to reach is a water bottle you’ll use less — which means less hydration on the trail.
Key checks before buying:
- Does it fit in your specific backpack’s side pockets? (Most 1-liter bottles fit in standard side pockets; very wide bottles may not)
- Is the bottle short enough not to bump your arm while hiking? (Taller bottles can hit your elbow on arm-swing-forward pockets)
- Is the cap tethered or attached? (Loose caps get dropped constantly)
Best Hiking Water Bottles for Beginners: Honest Picks
Best Overall: Nalgene Wide Mouth 32oz (~$12–16)
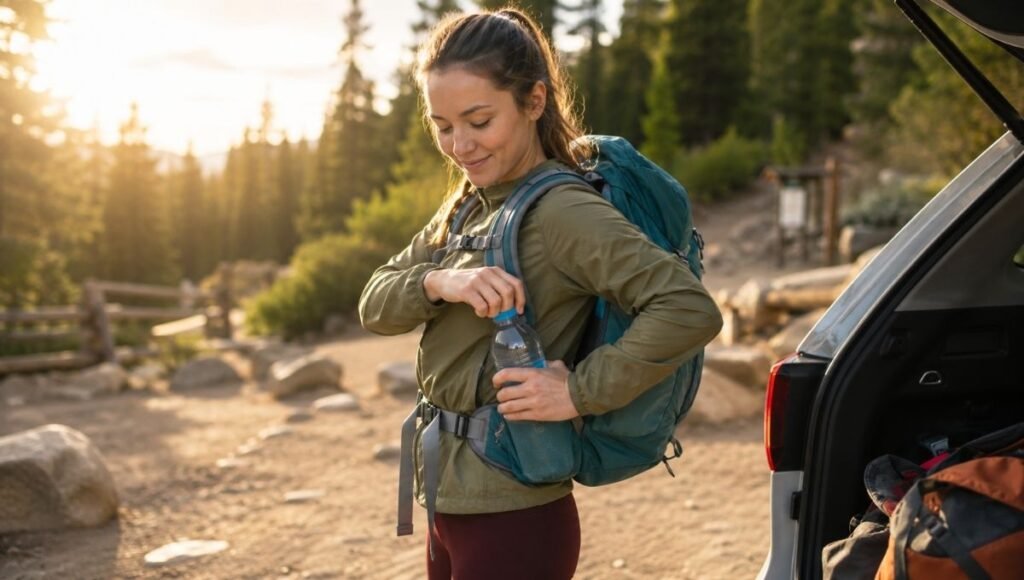
The Nalgene is the most consistently recommended beginner hiking water bottle for one simple reason: it’s nearly indestructible, genuinely BPA-free (Tritan copolyester), dishwasher safe, has a wide mouth for easy filling and cleaning, and costs less than a single round of drinks.
The Nalgene’s reputation comes from decades of actual use. It’s heavy by ultralight standards (6.2oz), but for beginner day hikes, that weight difference is irrelevant. It fits in most backpack side pockets, works with most squeeze-style water filters, and will outlast most other gear in your kit.
Weight: 6.2oz (176g) Capacity: 32oz (1 liter) Material: BPA-free Tritan copolyester Best for: Most beginner day hikers who want a reliable, zero-fuss option
Best Insulated Option: Hydro Flask 32oz Wide Mouth (~$45–50)
If you want cold water to stay cold on a hot summer hike — and you’re willing to pay for it — the Hydro Flask is the standard choice. Double-wall vacuum insulation keeps cold drinks cold for up to 24 hours, which makes a real difference on long, exposed summer hikes.
The trade-off: weight (12.5oz, twice a Nalgene) and price. For most beginner hikers on moderate trails, the insulation benefit doesn’t justify the cost. But if you hike in high heat regularly or hate drinking warm water, it’s worth it.
Weight: 12.5oz (354g) Capacity: 32oz (1 liter) Material: 18/8 stainless steel Best for: Hot weather hikers, anyone who wants cold drinks maintained over long outings
Best Budget Pick: REI Co-op Nalgene Alternative (~$8–12)
REI’s house brand offers a Nalgene-equivalent wide-mouth bottle at slightly lower cost. BPA-free construction, identical capacity and function. The quality is comparable to Nalgene for most use cases. Good choice if you want to spend the minimum to get started.
Best Lightweight Option: Platypus SoftBottle 1L (~$10–12)
For hikers who want to minimize weight and pack volume, the Platypus SoftBottle collapses completely when empty and weighs only 1.2oz. Less durable than hard plastic but functional for lighter use. Works well as a filter companion or secondary bottle.
Weight: 1.2oz (34g) Capacity: 1 liter Material: BPA-free, BPS-free flexible plastic Best for: Ultralight-minded hikers, secondary bottle for filter use
What About Hydration Bladders? Best Picks for When You’re Ready
If you’ve been hiking for a while and want to try a hydration bladder, here’s what to know before buying:
Key Features to Look For
Capacity: 2 liters is the standard for day hiking; 3 liters for longer hikes or hot weather.
Bite valve design: Should seal completely (no dripping) and be easy to use with gloves. The Camelbak Crux valve and Platypus Big Zip valves are the most consistently praised designs.
Wide opening for filling: A large opening makes filling from streams, spigots, or water filters much faster. Narrow openings are a genuine frustration on the trail.
Cleaning access: Look for a design with a wide opening you can actually get your hand into, or that opens fully flat for drying. Mold inside an impossible-to-clean bladder is a real and unpleasant problem.
Best Hydration Bladder for Beginners: Platypus Big Zip EVO 2L (~$35–45)
The Platypus Big Zip EVO is consistently recommended for beginner-friendly hydration bladder use because its large slide-seal opening genuinely makes filling and cleaning straightforward — which is the main frustration point that puts beginners off bladders entirely. It’s lighter than comparable Camelbak options and the Bite Valve seals reliably.
Capacity: 2 liters Weight: 2.6oz (74g) empty Best for: Hikers transitioning from bottles to bladders who want the most maintenance-friendly option
How to Clean a Hydration Bladder (And Why It Matters)
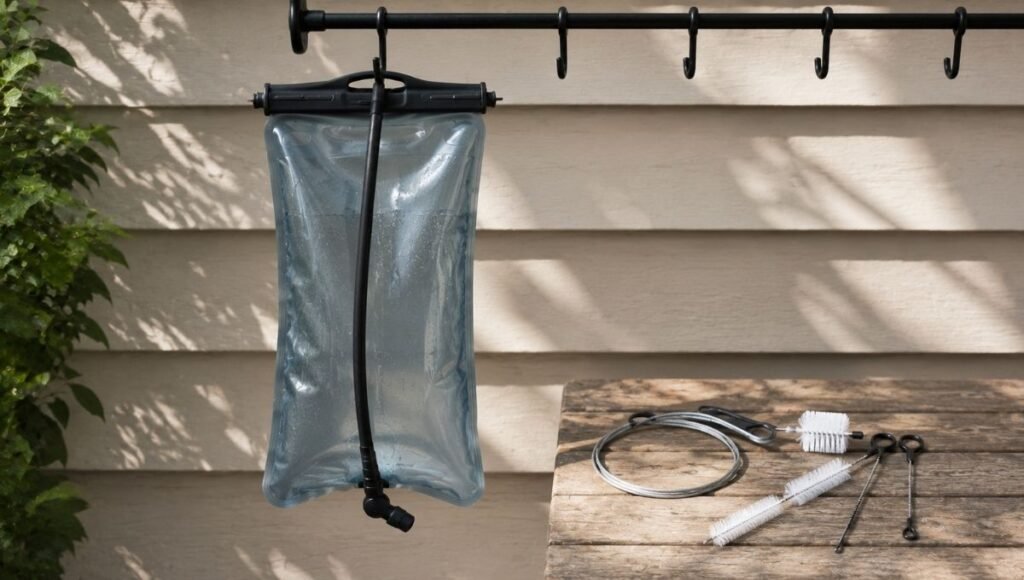
This is the step most new bladder users underestimate. A bladder that isn’t properly cleaned and dried develops mold in the tube and reservoir — which is both unpleasant and a health concern.
After every use:
- Empty completely, rinse with clean water
- Leave the reservoir open and hang upside down to air dry completely
- Store with the top open, in a dry location — never sealed
Weekly or after extended use:
- Fill with warm water + 2 tablespoons of baking soda or white vinegar
- Shake, let sit 30 minutes, rinse thoroughly
- Use a cleaning brush kit for the tube (sold cheaply online)
- Dry completely before storage
How to Stay Hydrated on the Trail: The Practical System
Knowing the right gear is half the equation. The other half is actually drinking enough.
Drink before you’re thirsty. Set a mental timer to take a few sips every 15–20 minutes, regardless of whether you feel thirsty. Thirst is a late signal.
Add electrolytes on long or hot hikes. Water alone doesn’t replace sodium and potassium lost through sweat. On hikes over 3 hours or in high heat, electrolyte tablets or powder (Nuun, Liquid IV, or similar) make a real difference in how you feel.
Track your consumption. A Nalgene with measurement markings lets you monitor exactly how much you’ve drunk and how much remains. On a hydration bladder, you lose this visibility — check your reservoir during natural breaks.
Plan your water sources. On multi-hour hikes, know where you can refill. AllTrails often notes stream crossings and water sources in trail reviews. A squeeze filter or water purification tablets let you safely drink from natural sources, extending how far you can go without resupply.
If You Only Have 5 Minutes to Decide
Starting from zero and want the simplest possible setup: Buy a Nalgene Wide Mouth 32oz (~$12). Bring two if you’re hiking more than 3 hours. Done.
Want insulation for summer hiking: Hydro Flask 32oz Wide Mouth (~$45). Worth it if you hate warm water and hike in heat.
Want to try a hydration bladder: Platypus Big Zip EVO 2L (~$40). Easiest to clean and fill — which is the feature that matters most when you’re learning.
Most important regardless of what you buy: Bring more water than you think you need. The bottle choice matters much less than the quantity.
FAQ: Real Questions About Hiking Water Bottles and Hydration
Q: What is the best hiking water bottle for beginners? For most beginners, a 32oz wide-mouth BPA-free plastic bottle like the Nalgene is the best starting point — affordable, durable, compatible with most water filters, and simple to use. Insulated stainless steel (like Hydro Flask) is the upgrade if keeping drinks cold is a priority.
Q: Is a hydration bladder better than a water bottle for hiking? It depends on your hiking style. For day hikes under 5–6 hours: water bottles are simpler, easier to monitor, and easier to maintain. For longer hikes where hands-free drinking helps: a hydration bladder is worth the added maintenance. Many regular hikers use both.
Q: How do you clean a hydration bladder? After every use: empty, rinse, and hang to dry completely with the top open. For deeper cleaning: warm water with baking soda or white vinegar, soaked 30 minutes, then rinse and dry. Use a tube cleaning brush for the drinking hose. Never store sealed while damp — mold in a bladder is a genuine problem that ruins it.
Q: How much water should I bring hiking? Plan for approximately 0.5 liters (17oz) per hour of hiking, plus a buffer. For a 4-hour hike: bring at least 2.5 liters. Increase this in hot weather, at high altitude, or on strenuous terrain. Bring more than you think you need — running short on water mid-hike is both uncomfortable and potentially dangerous.
Q: Are Nalgene bottles safe for hiking? Yes. Modern Nalgene bottles are made from BPA-free Tritan copolyester, which is one of the most extensively tested plastics for food contact safety. They’re dishwasher safe, extremely durable, and have been a hiking standard for decades.
Drink More, Enjoy More
Hydration on the trail isn’t complicated — it just requires planning. Know how much you need before you leave the trailhead, choose a vessel that you’ll actually use consistently, and drink on a schedule rather than waiting for thirst.
The best hiking water bottle is the one that’s full when you start and that you remember to drink from throughout the hike. Start with a Nalgene, bring enough water, and let the trail take care of the rest.
Continue building your hiking kit:
- The Complete Hiking Packing List for Beginners
- How to Stay Safe Outdoors: Beginner’s Guide
- Average Hiking Speed: How Long Does a Hike Take?
- Best Lightweight Hiking Backpack for Beginners
References
- Centers for Disease Control and Prevention (CDC). Physical Activity and Hydration — Water and Healthier Drinks. cdc.gov
- Judelson, D.A., et al. (2007). Hydration and muscular performance: Does fluid balance affect strength, power and high-intensity endurance? Sports Medicine, 37(10), 907–921.
- Casa, D.J., et al. (2000). National Athletic Trainers’ Association Position Statement: Fluid Replacement for Athletes. Journal of Athletic Training, 35(2), 212–224.
- National Park Service. Hiking Safety — Heat and Hydration Guidelines. nps.gov
- REI Co-op. How to Choose a Water Bottle for Hiking. rei.com/learn/expert-advice/water-bottles.html